According to my Blogger Dashboard, my last post on Writing
Workshop (see it here) is the most popular of all my posts (thank you
Pinterest)! Since then I have been
regularly receiving questions about how the Lucy Calkins program works at my
school. Actually, the questions are mainly about the modifications we have made
(and continue to make) over the last 5 years. For beginners, I suggest sticking
to the program as written and slowly adding/changing/ taking away/etc. as time
goes on.
Many people have asked if I can share/sell the Illustration
Unit I mentioned in that post, but sadly, I cannot. The unit was created by teachers paid by the county
I work in and is thus the property of my school district. I don’t even have an
electronic copy myself. However, A LOT of man hours went into the creation of
the unit and I think it would be a waste to keep it all to ourselves. So with
this post I am going to try to shed some more light on the nature of this unit
and what it looks like in the primary classroom. Hopefully you’ll be inspired
to try an Illustration Unit with your students as well. I promise, the payoff
is definitely worth the work!
If you’d like some research-based reading to go along with
this unit I suggest you start with these:
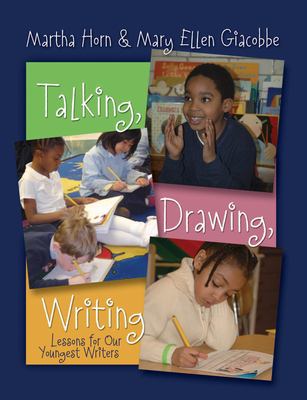
“Talking, Drawing, Writing: Lessons for Our YoungestWriters” by Martha Horn and Mary Ellen Giacobbe
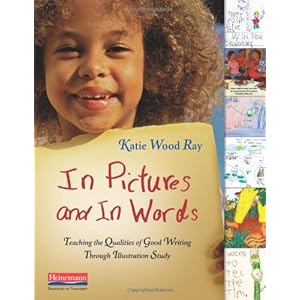
“In Pictures and In Words” by Katie Wood Ray
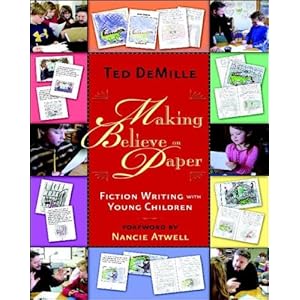
“Making Believe on Paper: Fiction Writing with YoungChildren” by Ted DeMille
“Writing Write From the Start” conference by Katie Wood Ray
and Lisa Cleveland, July 2010
Rationale
Children are introduced to key qualities of writing in the
context of illustrations (Wood Ray & Cleveland, 2010). Basically the purpose of this unit is to build stamina for creative kinds of work, develop
habits of process (planning, designing, drafting, revising and editing),
utilize an important habit of mind (how to read like writers), and learn about
the qualities of good writing in a parallel context.
The Illustration Unit
The Illustration Unit is composed of two parts. Part 1
represents about 30% of the unit and is dedicated to Drawing. Why is this
important? Well, because most children
start drawing BEFORE they come to school. Drawing is their earliest form of
expression on paper. Also, “children tend to talk as they draw, and this talk
is yet another opportunity for them to play with language.” But perhaps the
most important reason is that “children can learn the craft of writing through
drawing (being specific, adding details, etc.)” (Giacobbe & Horn, 2007).
Part 2 represents the other 70% of the unit and is focused on using the
specific illustration techniques to support the craft of writing.
Part 1:
In Part 1, children really dive into books with excellent
illustrations. Find books that demonstrate a wide variety of illustration
techniques (the specific techniques are introduced in Part 2 of the unit). My
absolute favorite book for introducing these illustration techniques is “Birds”by Kevin Henkes and illustrated by Laura Dronzek. If you don’t have it already
you must go to amazon and buy it immediately.
After the children have had some exposure to illustrations,
we introduce the Blank Book. I addressed this in my Writing Workshop post so I
won’t go into a lot of detail, but my school rarely uses lined paper and we
give the students paper already stapled into 5 page booklets starting from Day
1. This helps the students with planning and getting into the mind frame that
they are creating BOOKS!
The last few lessons in Part 1 are dedicated to a
mini-illustrator study. We chose Mo Willems because his illustrations can be
easily recreated by even the smallest of hands. Also, Mo Willems has wonderful
websites with video clips about his illustrations. You could choose any
illustrator. Many years ago, before this Illustration Unit existed, I spent a
week diving into the illustrations of Ezra Jack Keats. The kids were fascinated
with the story about where his inspiration for Peter came from and how he used
newspaper, wall paper, and even floor tiles to create his illustrations. We
ended the week with each student creating a Keats-inspired cover for their
stories. I laminated them and we dedicated our Writing Celebration to Ezra Jack
Keats that month.
Part 2:
Part 2 is the meat of the Illustration Unit. We rely heavily
on read alouds with examples of specific illustration techniques. Please refer
to “In Pictures and In Words” by Katie Wood Ray for a detailed listing of the
illustration techniques and literature connections for each technique. Each
lesson is focused on one illustration technique (we don’t teach all 50).
However, the most important part of the lesson is making the bridge to the
craft of writing. For example, one lesson is all about the background of the
illustration. I don’t know about you, but my kids drawings are always floating
around on the page like they are stuck in purgatory or something. By showing
the students that the background of the illustration is important, we can also
encourage them to add more “background” information into their writing. Many
students don’t write about the setting of their story, or characteristics of
the people in their stories. Children’s stories tend to be all action. If they
have already learned that the background is important and should be represented
in their illustrations, it will be that much easier to come to the realization
that the background also needs to be represented in the text of their story.
EVERY lesson makes a connection like this. This is where you
are making the biggest investment in the success of your writers. Many times
people ask me, “you mean you spend a whole month just on drawing pictures? Isn’t that a
waste of time?” No. It is not a waste of time. Spending time at the beginning
of the year training our students for desired behaviors, learning procedures,
and getting them ready for Daily 5 or reading groups isn’t considered a waste
of time is it??? We do these things to help set the stage for the entire year.
The same is true for this Illustration Unit. They NEED this time to practice
the art of storytelling, understand the roles of author and illustrator, and to
feel secure in their writing environment.
Also, it has been my experience that whether you ask them to
or not, eventually they all start adding text to their stories. It is not just
a month of scribbling stick figures on white paper. They understand that their
illustrations tell a story, and at some point, they will need to add text to
support their story. And they do.
In closing, I hope that I have answered your questions and
served my purpose to lobby for more focus on illustration as a part of the
writing process in the primary classroom. I’d love to hear your thoughts on the
topic! I'd like to thank the wonderful teachers who gave their time to create this unit, and who continue guide me in all things "Writing Workshop". I know that the reason I love teaching writing, is because I had mentors who love to teach writing! Thank you!


Thanks for the brief overview into how your writing workshop works. I have been reading up about different ways of doing writing workshop and it can all be so complicated though I guess the thing you have to keep in mind is to do what works best for the students you have.
ReplyDeleteI am so glad I stumbled across your blog. I love the idea of an illustration unit. In the past, my students have never quite grasped the concept of setting, details, expression, etc. in their writing. I cannot wait to share these ideas with my team next week. I am definitely trying this unit with my new class this year. I think it is a concrete, inviting way for ALL of my students to become engaged in the writing process and become comfortable in our writing community. Thank you so much for sharing!
ReplyDeleteLOVE this! Your school should sell the unit on TPT, I bet it would be a hit!
ReplyDelete